

Stop dropping combo rotations in raids. Here is the tuned key layout and sensitivity profile built for Blue Protocol: Star Resonance to keep your fingers free.
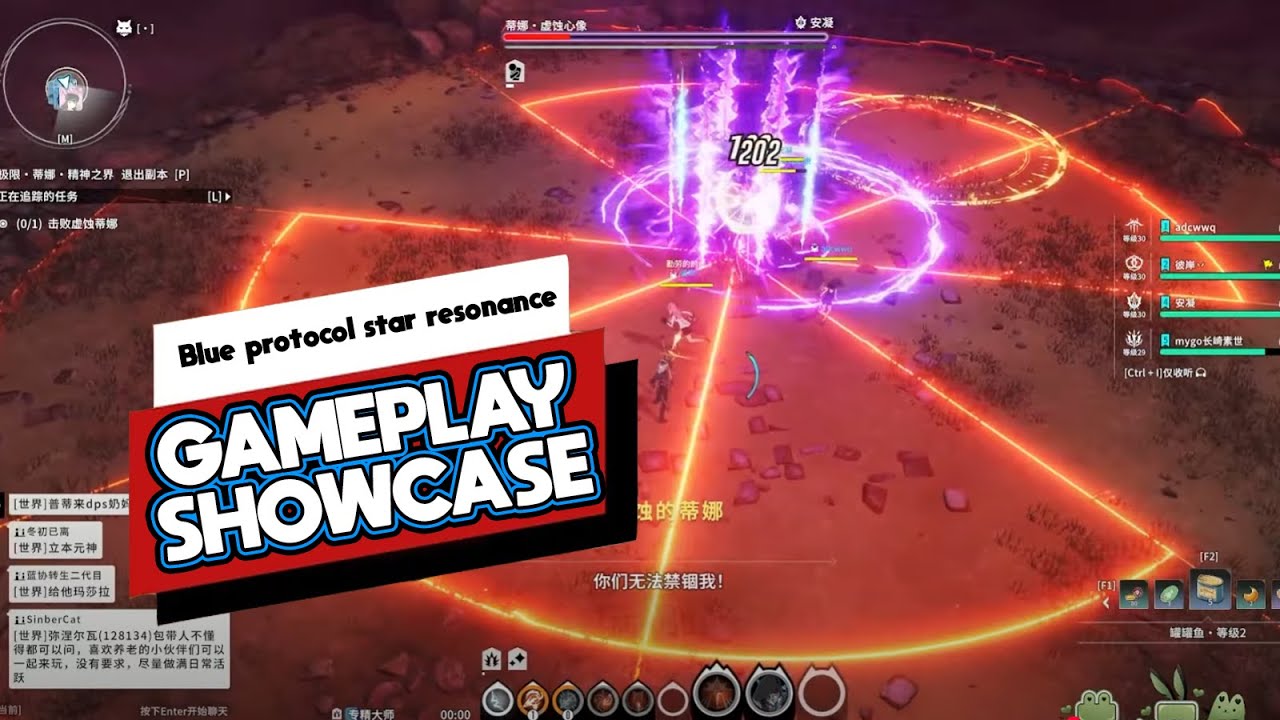
High-tier dungeons in Blue Protocol: Star Resonance expose input flaws immediately. You initiate a damage rotation and lunge straight into a red telegraph because basic attack animations carry forward displacement. When you reach to dodge, your index finger is already stretched across an ability key. You eat the hit, lose half your health bar, and drop the rotation.
The default control scheme prioritizes menu convenience over combat execution. It scatters combat actions across the keyboard while clustering non-combat menus right against WASD. Surviving late-game bosses across all eight launch classes requires clearing the deck.
Clearing Out the Default Menu Clutter
Standard keyboard layouts suffocate WASD with non-urgent panels. C opens Character Profile, B opens Inventory, N brings up Talents, J launches Social, and the right bracket (]) manages Skills. Having Profile on C and Inventory on B is an active hazard. A finger slipping off D or V during a strafe opens a full-screen window mid-mechanic.
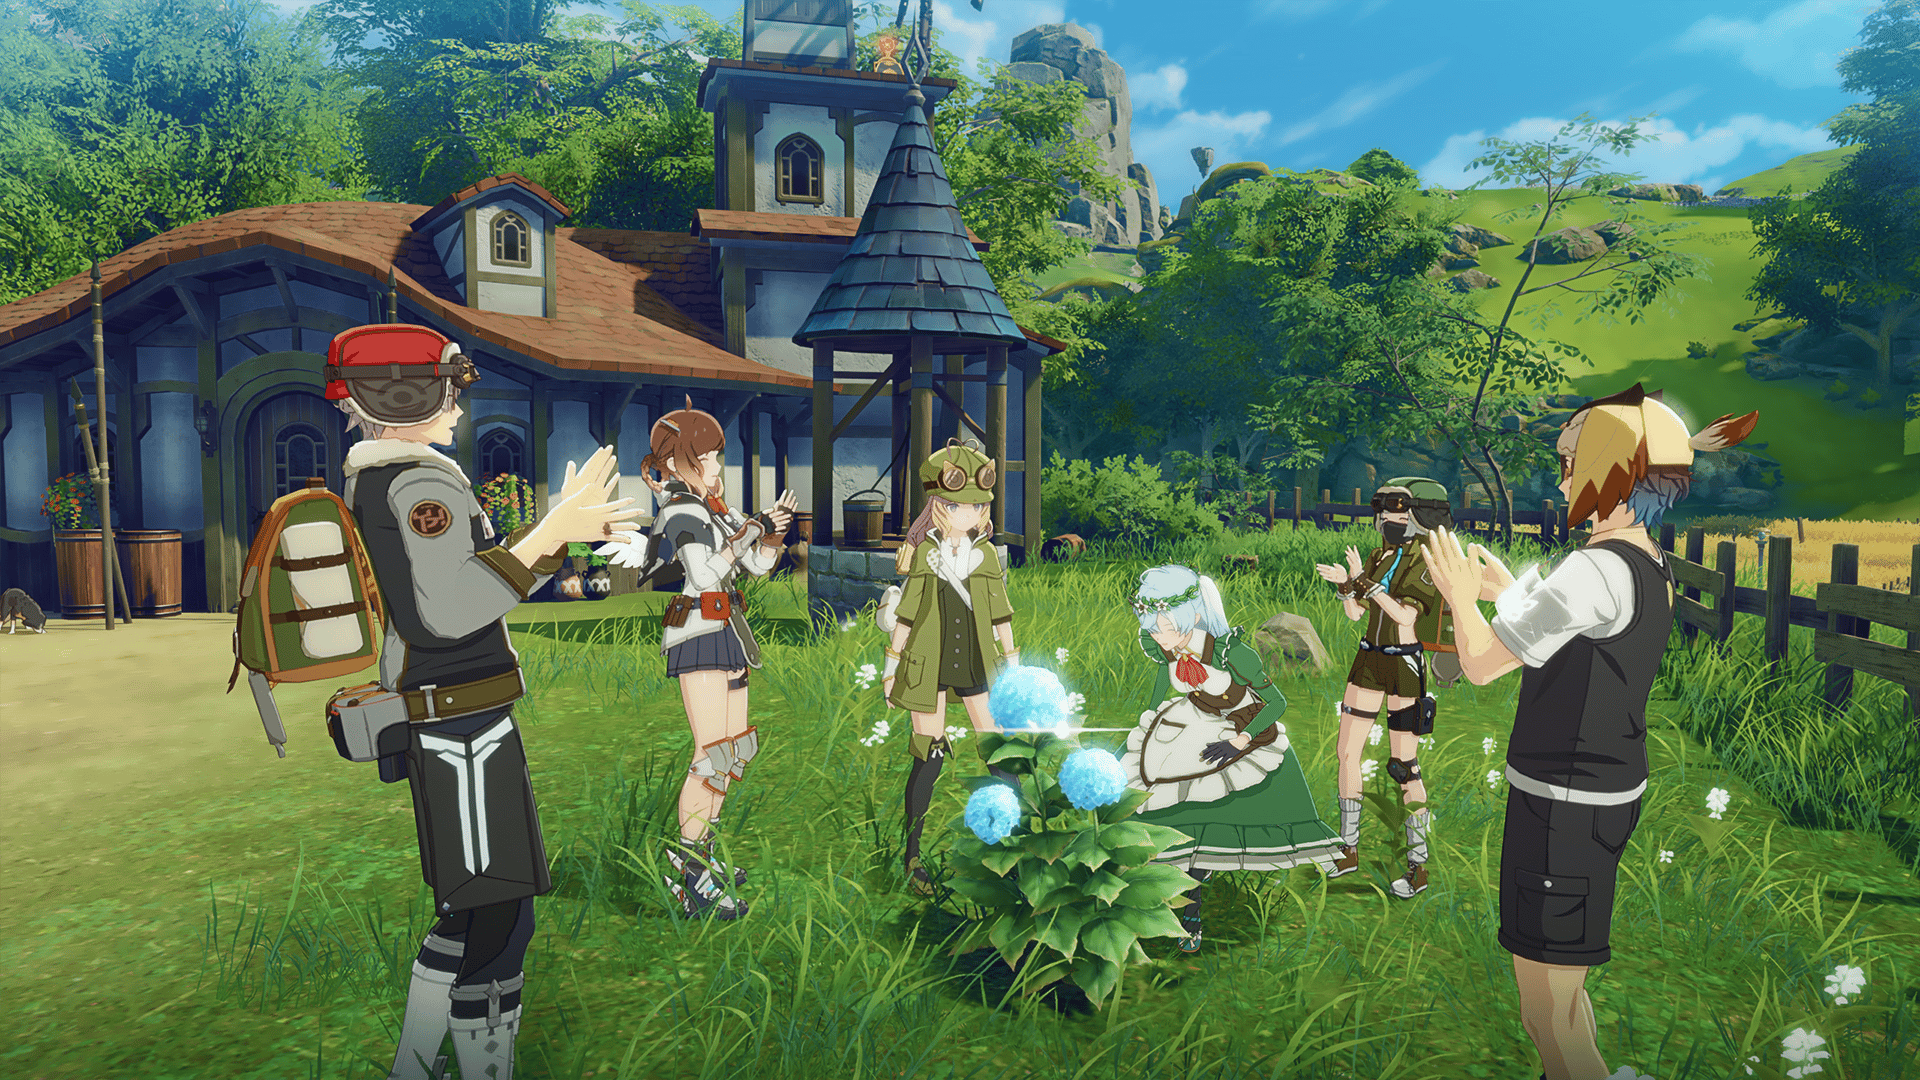
Photo Mode and utility toggles introduce similar risks. Auto Combo defaults to H, while interface toggles map across F, C, and B. An accidental tap on H surrenders manual timing to an automated sequence, locking your combo rotation.
To reclaim your keyboard real estate, push administrative menus to secondary layers:
- Move Profile from C to O.
- Move Inventory from B to I.
- Move Talents from N to K.
- Move Social from J to L.
- Move Photo Mode toggles completely away from combat clusters onto F9 or F10.
Instanced fights never require instant access to administrative screens. For communication and travel, use the Shortcut Wheel. Holding T and pressing Q opens the radial interface, allowing you to trigger party emotes, canned phrases, and teleports without crowding combat keys.

Blue Protocol: Star Resonance Top Up
60 + 6 Rose Gems
 60 + 6 Rose GemsUSD 0.56Buy Now
Street Skater Outfit Pack
Street Skater Outfit PackUSD 0.68Buy NowAironas Special Bundle
Aironas Special BundleUSD 2.60Buy Now300 + 30 Rose Gems
300 + 30 Rose GemsUSD 3.92Buy NowMonthly Card
Monthly CardUSD 3.92Buy NowVoid Pass II - Advanced
Void Pass II - AdvancedUSD 7.30Buy NowVoid Pass II - Upgrade Kit
Void Pass II - Upgrade KitUSD 7.30Buy Now980 + 120 Rose Gems
980 + 120 Rose GemsUSD 11.21Buy NowVoid Pass II - Supreme
Void Pass II - SupremeUSD 14.00Buy Now1980 + 288 Rose Gems
1980 + 288 Rose GemsUSD 22.40Buy Now3280 + 528 Rose Gems
3280 + 528 Rose GemsUSD 39.20Buy Now6480 + 1296 Rose Gems
6480 + 1296 Rose GemsUSD 73.18Buy Now
Solving the Dodge Conflict and Attack Displacement
Your movement fingers must never leave WASD. Every launch class—tank, damage dealer, or support—features basic attack strings with intrinsic forward displacement. Weapon swings nudge your character forward with every hit. During continuous boss uptime, this forward drift pulls you straight into hazard zones.
Countering displacement while maintaining damage uptime requires backward dash cancels. The default layout maps dodge to the keyboard, forcing your pinky or index finger to split duties between movement direction and evasive timing. If your index finger must hit E for a class skill while simultaneously reacting to an incoming cleave, you miss the dodge window.
Binding sprint and dodge together on Left Shift is a trap. Juggling sprint and dodge on a single pinky key multiplies double-tap misfires during high-stress phases. Moving dodge to Mouse 4 isolates evasion on your right thumb, keeping your left hand anchored on WASD for omnidirectional strafing.
Left Alt presents a similar physical problem. Curling your left thumb under your palm to hit Alt while keeping three fingers glued to WASD causes hand strain. Remap modifier actions or defensive abilities directly to Mouse 5 instead.
If you are leveling characters for endgame raids, you can grab battle passes and progression items through Blue Protocol: Star Resonance top up packages between dungeon runs.
Optimal Key Mapping for Class Role Skills
Every role in Blue Protocol: Star Resonance utilizes a dedicated four-slot hotbar for Class Role Skills alongside primary weapon abilities. Stretching eight combat skills across keys 1 through 8 slows execution down. Reaching from W to 6 or 7 pulls your hand off directional controls and adds noticeable input delay.
This layout clusters weapon skills, role skills, and defensive tools into a compact grid around WASD:
| Combat Action | Default Key | Optimal Remapped Key | Mechanical Purpose |
|---|---|---|---|
| Dodge / Evade | Left Shift / Keyboard | Mouse 4 (Thumb Button) | Eliminates finger travel from WASD; allows omnidirectional evasion |
| Class Role Skill 1 | 5 | Q | Immediate left-side reach for primary defensive or role proc |
| Class Role Skill 2 | 6 | E | Immediate right-side reach for core role rotation ability |
| Class Role Skill 3 | 7 | R | Fast upper reach for long-cooldown team buff or taunt |
| Class Role Skill 4 | 8 | F | Lateral index reach for execute or secondary burst |
| Core Weapon Skill 1 | 1 | 1 | Natural finger reach above ring finger |
| Core Weapon Skill 2 | 2 | 2 | Natural finger reach above middle finger |
| Core Weapon Skill 3 | 3 | 3 | Natural finger reach above index finger |
| Core Weapon Skill 4 | 4 | 4 | Accessible upper-right reach for rotational filler |
| Ultimate / Awakening | G | Mouse 5 or V | Prevents accidental ultimate drops while keeping trigger immediate |
| Target Lock Toggle | Q or Middle Click | Mouse Wheel Down | Removes auto-facing accidents caused by movement key proximity |
| Target Cycling | Tab | Mouse Wheel Up | Rapid target switching without leaving directional strafe keys |
Reallocating your four Class Role Skills to Q, E, R, and F compresses your combat reach into a tight perimeter, keeping your fingers within a one-key radius of WASD at all times.
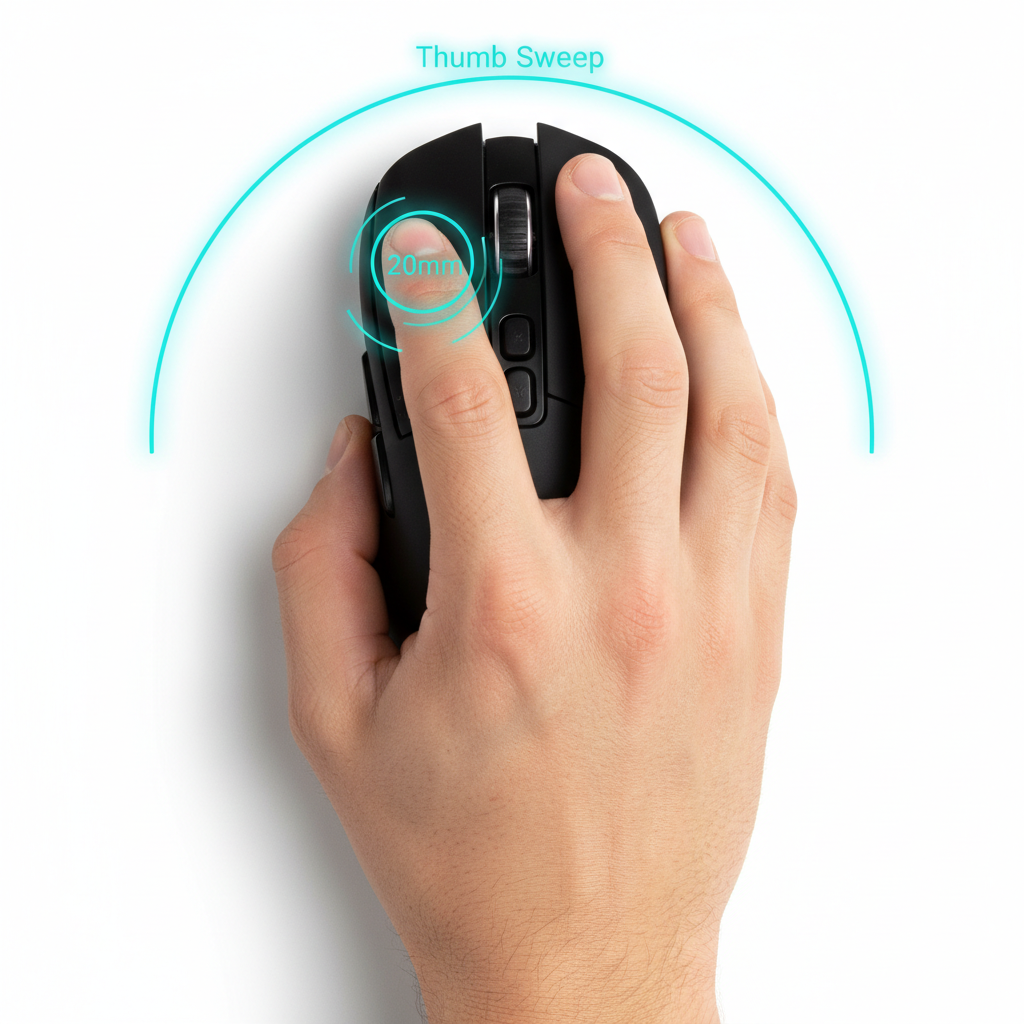
A standard five-button mouse handles this entire setup without keyboard crowding. If you run a 12-button MMO mouse, map weapon skills to side buttons 1–4, role skills to 5–8, and reserve Q, E, R, and F for consumables or mounts. On standard mice, software like X-Mouse Button Control can set up to 10 layer profiles to intercept Mouse 4 and Mouse 5 inputs for modifier bindings.
Cutting Hardware Latency for Frame-Tight Dodges
Keybinds cannot save a rotation if peripheral hardware introduces lag. A 10 to 20ms delay shift dictates whether an evasive invulnerability frame catches a boss attack or triggers after the damage registers. Standard office Bluetooth protocols introduce packet jitter and transmission drops that ruin frame-tight dodges.
Connection protocols establish your physical latency floor:
| Connection Interface | Measured Input Latency | Hardware Polling Characteristics | Impact on Raid Performance |
|---|---|---|---|
| USB Wired | 1 - 4 ms | Consistent 1000Hz polling (1ms interval) | Minimum latency; guarantees immediate response during dodge frames |
| 2.4GHz Wireless | 2 - 8 ms | Dedicated USB dongle with minimal packet delay | Competitive responsiveness with no noticeable delay in combo strings |
| Bluetooth Wireless | 8 - 16+ ms | Variable polling intervals and frequent packet jitter | Severe delay; regularly misses frame-tight dodge reaction windows |
Wired USB and 2.4GHz wireless connections maintain tight response times necessary for reaction-based dodging, whereas Bluetooth adds an unacceptable latency penalty.
Direct motherboard connections bypass unpowered hubs and pass-through ports, sustaining a true 1000Hz polling rate (1–4ms) without shared bus contention.
Controller vs Mouse and Targeting Reliability
Targeting configuration decides how reliably you track bosses during complex movement phases. Default target lock-on binds to keys near WASD, like Q. This creates immediate problems: an accidental tap snaps your camera to an off-target add mid-dodge, inverting your movement vector relative to the screen and walking you directly into damage.
In-game auto-facing toggles often fail during scripted boss transitions. When menu options prove unreliable, players either modify local configuration files or rebind target locking to an out-of-reach key like F12 to disable it completely.
A cleaner solution keeps lock-on off the keyboard entirely. Assign target locking to Mouse Wheel Down and target cycling to Mouse Wheel Up. Your index finger handles cycling and clearing instantly without disturbing WASD.
Input methods handle targeting, camera sweeps, and key density differently:
| Control Metric | Mouse & Keyboard Setup | Gamepad Controller Setup |
|---|---|---|
| Camera Turn Rate | Instantaneous; dependent on physical flick speed | Linear; capped by analog stick rotational limits |
| Dodge Execution | Instant trigger via dedicated thumb button (Mouse 4) | High speed on face buttons, but requires thumb movement off right stick |
| Target Cycling | Precise cycling using mouse wheel up and down | Stepped targeting via bumper/trigger combinations |
| Role Skill Access | Dedicated individual keys (Q, E, R, F) for all four skills | Multi-button chording (e.g., Left Trigger + Face Buttons) |
| Micro-Strafing | Binary directional inputs (WASD) with rapid cancellation | 360-degree analog fidelity, slightly slower transition times |
Mouse and keyboard offers faster camera turns and dedicated skill buttons, whereas gamepads trade rotational speed for 360-degree analog movement.
To keep your build optimized before high-difficulty raids, top up premium currencies through a Blue Protocol: Star Resonance recharge.
Camera Sensitivity Settings and Tuning Profile
Fast keybinds mean nothing if your camera drags behind a teleporting boss. Default camera sensitivity requires broad arm swipes across your desk just to turn around. Calibrate your sensitivity curve to snap 180 degrees instantly while keeping ground telegraphs sharp.
Recommended camera calibration:
- Set hardware DPI between 800 and 1200. Avoid settings above 3200, which amplify hand tremors.
- Set Horizontal Camera Sensitivity to 65.
- Set Vertical Camera Sensitivity to 50 to stabilize your horizon line during quick turns.
- Maximize Camera Distance to 100 for broad arena visibility.
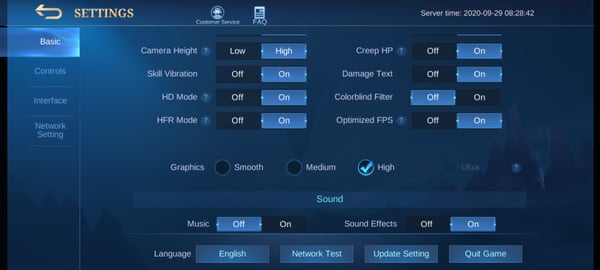
- Disable Camera Shake and Screen Blur to keep telegraph animations clear.
- Turn off Auto Camera Smoothing to eliminate software acceleration and retain 1:1 tracking.
When to Deviate from This Profile
Agile melee DPS builds benefit from bumping Horizontal Sensitivity to 75 for rapid backstab repositioning. Ranged supports and ground-targeting casters should drop it to 55 for tighter reticle placement.
Star Resonance HUD Setup and Movement Cancels
Perimeter HUD layouts sabotage reaction times. Looking to screen corners to verify skill cooldowns pulls your focus off boss telegraphs. Open the interface editor and pull your four-slot Class Role Skills hotbar and core cooldowns directly beneath your character model.
With the interface cleared, integrate two movement techniques to preserve stamina and increase traversal speed:
Bunny Hopping for Stamina Preservation
Continuous sprinting burns stamina reserves required for emergency dodges. Bunny hopping preserves that meter. Tapping Jump on Spacebar right as your character lands carries forward velocity across the floor without triggering sprint drain.
Dismount Momentum Cancels
When mounted, initiate a dismount and immediately hit Spacebar. The mount's forward momentum transfers into your jump, launching you farther and higher than a standard dismount to clear arena hazards quickly.
For extra convenience items and raid supplies, pick up upgrades through xptopup for Blue Protocol: Star Resonance.
Final Verdict: Clean Muscle Memory Beats Default Clutter
Default controls bottleneck high-tier play. Juggling eight abilities while dodging on keyboard keys and fighting camera snapping caps your raid execution.
Move administrative panels out of reach. Put dodge on Mouse 4, lock-on toggles on the mouse wheel, and cluster the four Class Role Skills on Q, E, R, and F. Connect peripherals straight into rear motherboard ports for stable 1000Hz polling. When your fingers stay anchored on movement keys, your rotations execute cleanly.
FAQ
What are the best keybinds for dodging in Blue Protocol: Star Resonance?
Bind dodge directly to Mouse 4 on your mouse thumb grip rather than relying on keyboard keys. This keeps your left hand anchored on WASD for omnidirectional movement while giving your right thumb instantaneous evasive reaction timing. Avoid sharing sprint and dodge on the same key to prevent accidental input misfires.
How should I organize my Class Role Skills hotbar?
Map your four Class Role Skills to Q, E, R, and F, clustering them directly around your movement keys. Move default administrative interfaces like Character Profile and Social to the right side of your keyboard (such as O, K, and L). This ensures that heavy-rotation role skills are reachable without extending your fingers across the number row.
Why does default target locking feel awkward during dungeon boss encounters?
Default target locking bound near movement keys frequently leads to accidental activations that snap your camera unexpectedly. When the camera locks onto a secondary mob mid-strafe, your screen orientation shifts and inverts your movement direction. Rebinding target lock to Mouse Wheel Down prevents these accidental camera snaps while keeping target clearing accessible.
Is an MMO mouse with 12 side buttons necessary for Blue Protocol combos?
An MMO mouse is not required to play at a high level, as a standard 5-button mouse covers all essential actions. Mapping dodge to Mouse 4 and a defensive cast or modifier to Mouse 5 leaves your keyboard with plenty of accessible keys for your core rotation. Players who prefer keeping their left hand strictly on movement can use a 12-button side grid for weapon and role skills.
How can I reduce hardware input lag for faster combo execution?
Connect your mouse and keyboard directly to the rear I/O USB ports on your motherboard rather than through unpowered external hubs. Set your peripheral polling rate to 1000Hz to achieve stable 1ms report intervals, and use wired or 2.4GHz connections instead of high-latency Bluetooth. Disabling camera smoothing and screen blur inside the graphics settings also sharpens your visual reaction windows.
What is the bunny hop trick and how do I keybind it effectively?
Bunny hopping involves chaining single jump inputs during movement rather than holding the sprint key, preserving stamina while boosting travel speed across combat zones. Keep Jump mapped to Spacebar for effortless thumb tapping. Time your jump immediately upon character landing to preserve forward velocity without consuming defensive stamina.

Comments